

 Email:

1. Disassemble the 3M bottom layer on the back of the membrane switch, and check from the back whether the circuit is burned or the circuit is broken.
2. Check the top layer of the membrane switch (graphic overlay layer), disassemble the top layer of the keyboard membrane, and use a multimeter to check the connection position between each key switch point and the circuit board to determine the connection point of the switch after modification corresponding to.
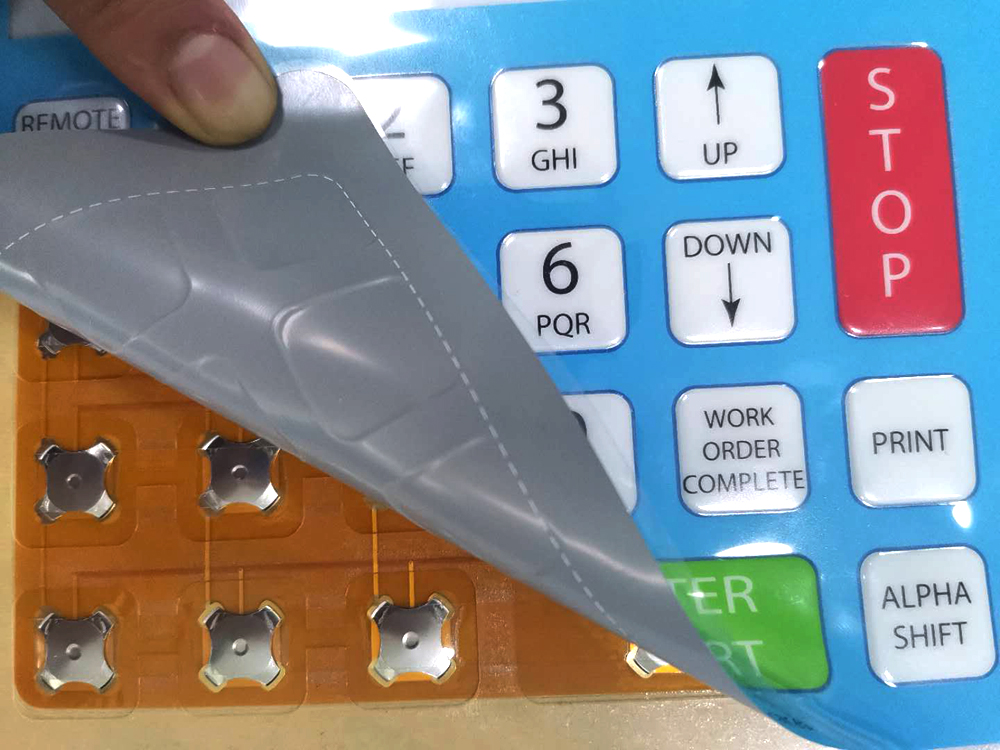
3. Check whether the metal dome of the button is damaged, and replace it with a new metal dome if damaged. To replace a new metal dome, you need to open the second layer of panel adhesive layer and the third layer of fixed layer. When removing these layers, you must pay attention not to damage these parts. If they are damaged, they cannot be reassembled, and only new parts can be used replace.
4. When the metal dome fixing layer is removed, the entire circuit of the membrane switch can be clearly seen. You can use a multimeter to test the conduction performance of each button and LED, and check whether the circuit is open or short circuited. Repair and replace damaged parts.
5. After troubleshooting the membrane switch keyboard, follow the previous disassembly steps to paste layer by layer, and finally complete the assembly and maintenance of the membrane keypad switch.
More information visit:www.jcftechnology.com