 Tel: +86755-27523807 +8613715205860(wechat/whatsapp)
 Email: jcf@jcftechnology.com

 Tel: +86755-27523807 +8613715205860(wechat/whatsapp)
 Email: jcf@jcftechnology.com
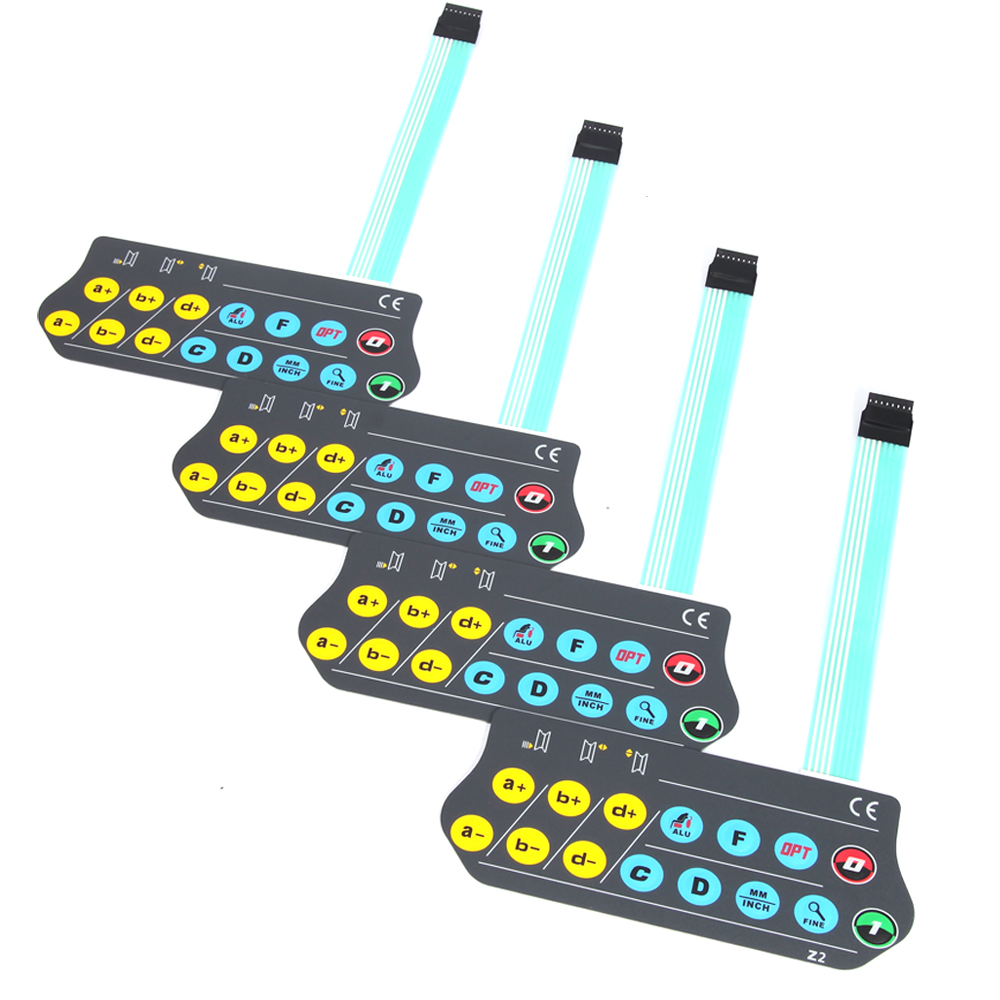
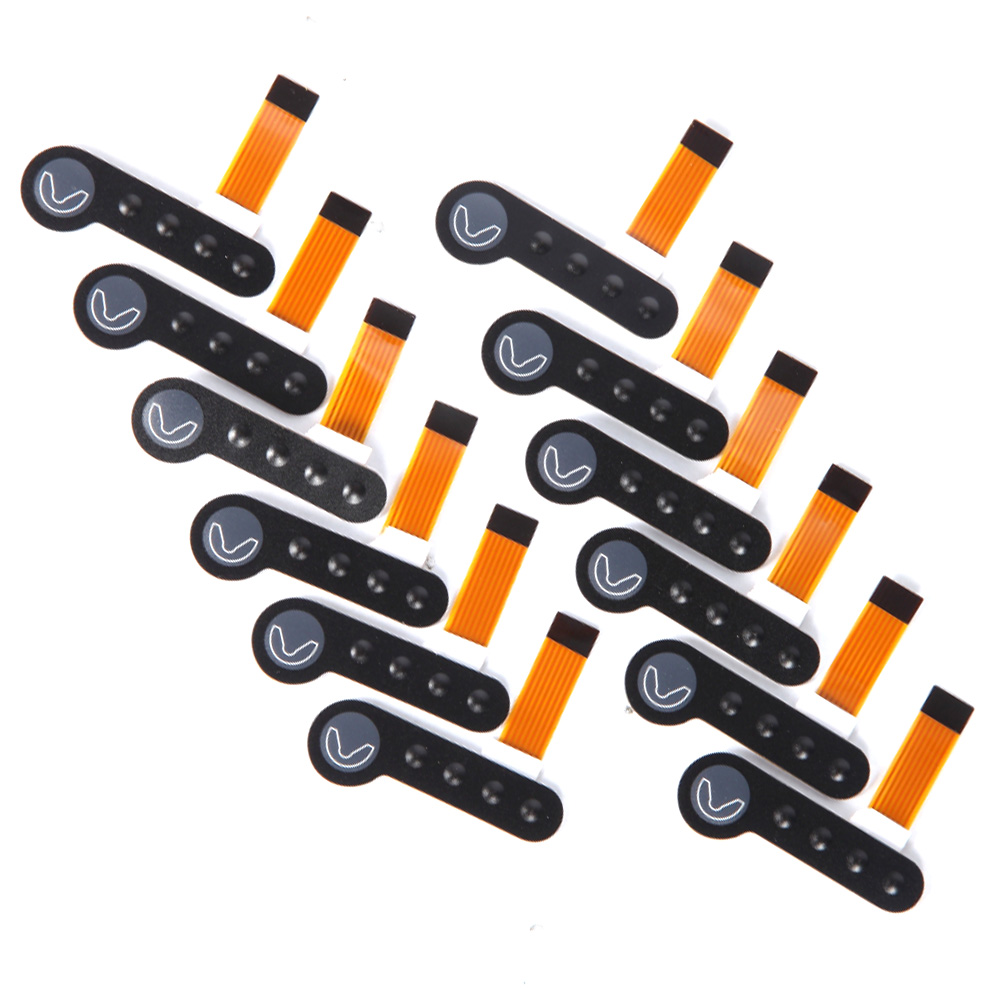
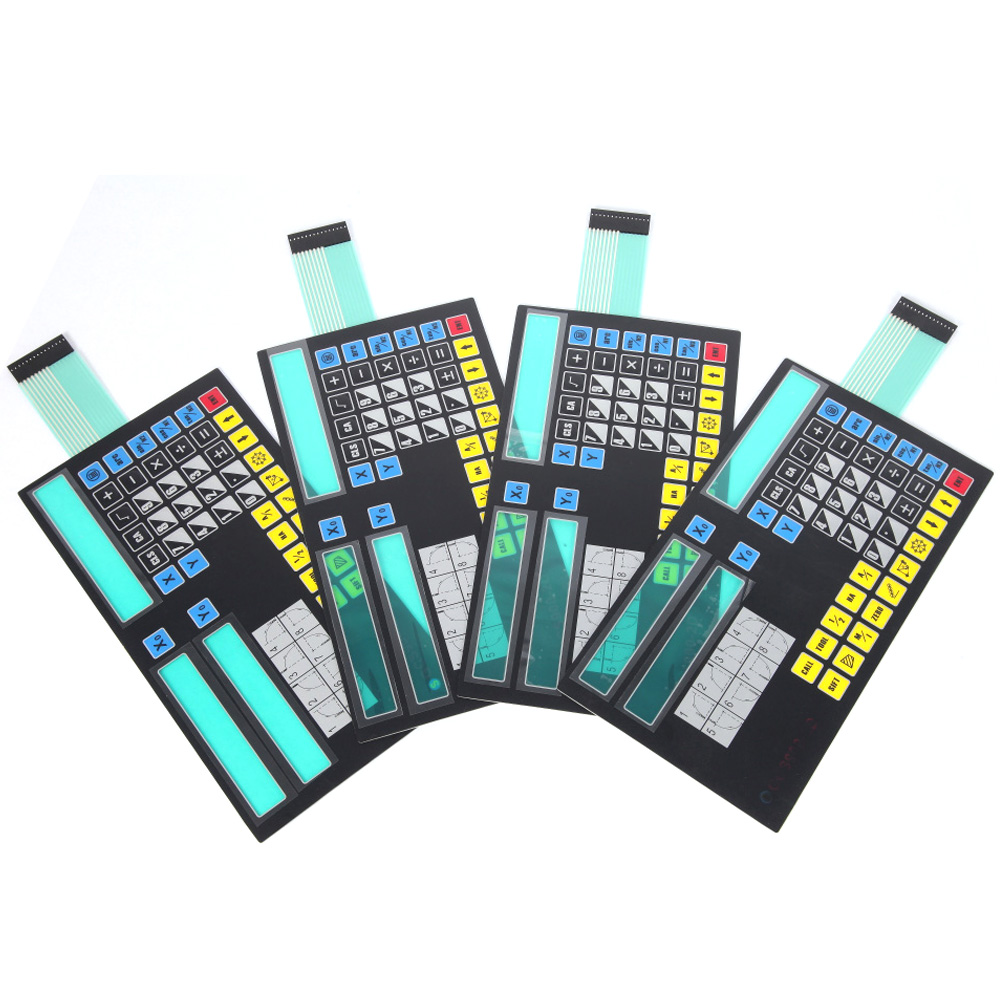
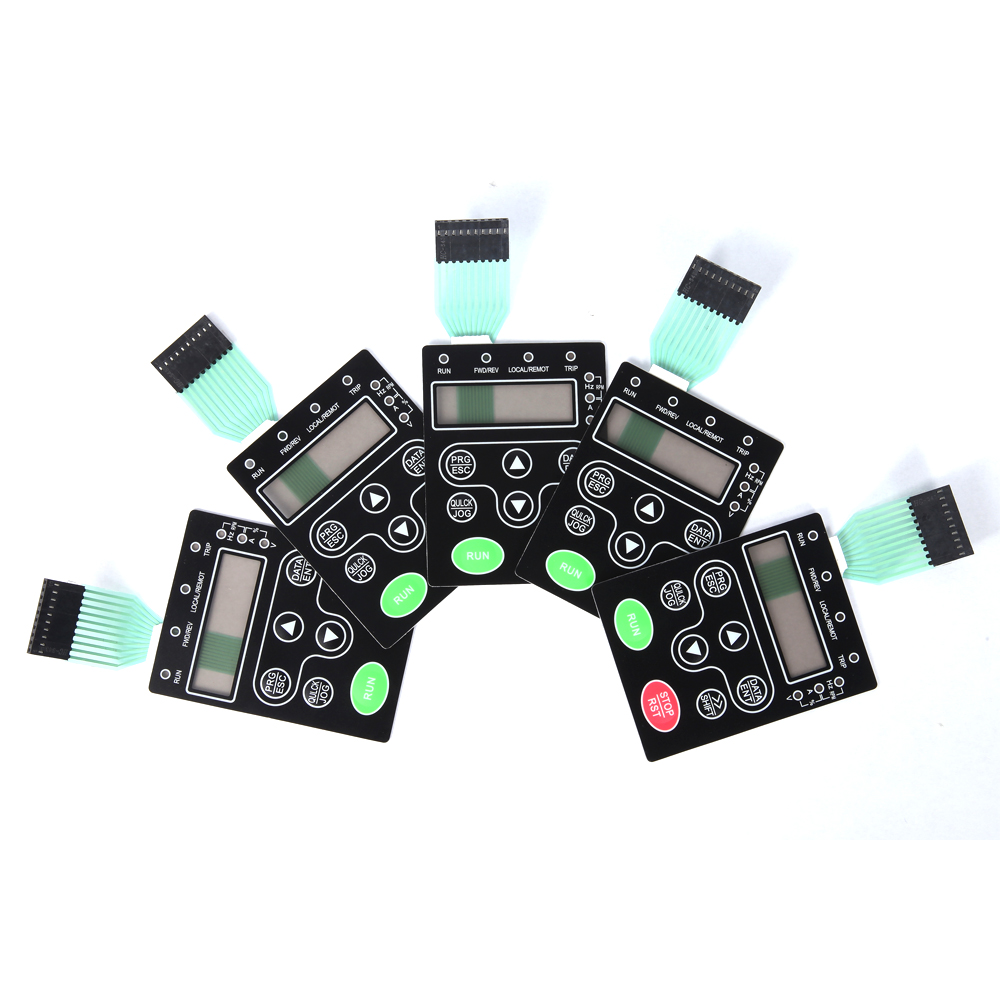
Yes, you can replace a membrane switch, but the process involves several steps and considerations to ensure that the replacement is successful. Here’s a detailed guide on how to replace a membrane switch panel:

1. Identify the Problem
Before proceeding with a replacement, determine the issue with the existing membrane switch. Common problems include:
Physical Damage: Tears, cracks, or wear in the overlay.
Electrical Failure: Non-responsive buttons or malfunctioning circuitry.
Adhesive Issues: Peeling or lifting of layers.
2. Obtain a Replacement
Custom Replacement:
Manufacturing: If a custom membrane switch keypad is needed, you may need to contact the original manufacturer or a specialized membrane switch supplier to produce a new switch with the same specifications.
Stock Replacement:
Standard Sizes: For standard applications, replacement membrane switches can often be purchased from suppliers or online retailers. Ensure that the replacement matches the dimensions and configuration of the original switch.
3. Remove the Old Membrane Switch
Preparation:
Power Off: Ensure that the device or equipment is powered off and disconnected from any power source to avoid electrical hazards.
Removal:
Peel Off: Carefully peel the old membrane panel switch from its mounting surface. This may involve gently prying it off using tools like a plastic spatula or a flathead screwdriver. Take care to avoid damaging the underlying surface or any other components.
Clean the Surface:
Remove Residue: Clean the area where the old switch was attached to remove any adhesive residue, dirt, or debris. Use appropriate cleaning agents that do not damage the surface or the device.

4. Install the New Membrane Switch
Alignment:
Positioning: Align the new membrane switch keyboard with the mounting surface. Ensure that it matches the layout and configuration of the old switch to fit properly.
Adhesion:
Press and Apply: If the new switch has adhesive backing, press it firmly into place. Make sure there are no air bubbles or misalignments.
Connection:
Electrical Connectors: If the membrane switch overlay connects to a circuit board or other components, ensure that all electrical connections are properly aligned and secured.

5. Test the Replacement
Functionality Check:
Power On: Reconnect the power and test the new membrane switch to ensure it functions correctly. Verify that all buttons and controls work as intended and that there are no issues with responsiveness or electrical connections.
Final Inspection:
Secure Installation: Check that the new switch is securely attached and that there are no gaps or loose areas. Ensure that the switch is properly integrated into the device or equipment.
6. Considerations for Replacement
Compatibility:
Match Specifications: Ensure that the replacement membrane switch matches the specifications of the original switch in terms of size, layout, and electrical characteristics.
Quality:
Supplier Reputation: Choose a replacement switch from a reputable supplier or manufacturer to ensure quality and reliability.
Professional Help:
Consult Experts: If the replacement involves complex equipment or if you’re unsure about the process, consider consulting a professional technician or repair service.

Replacing a membrane switch involves identifying the problem, obtaining a compatible replacement, carefully removing the old switch, installing the new one, and testing it to ensure proper functionality. By following these steps and considering compatibility and quality, you can effectively replace a membrane switch and restore the functionality of your device or equipment.

More information visit:www.jcftechnology.com