


 Email:

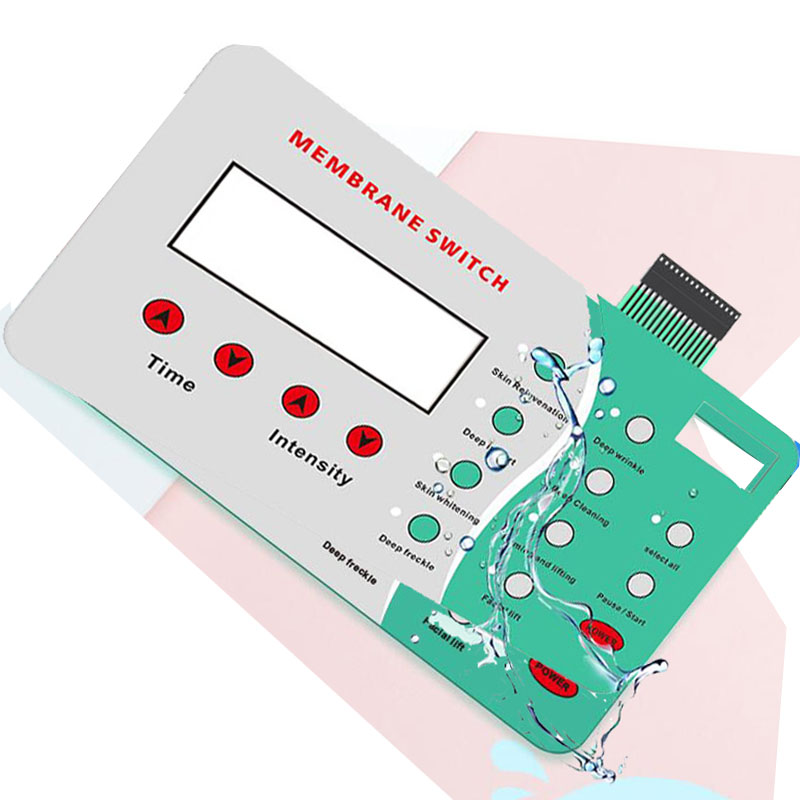
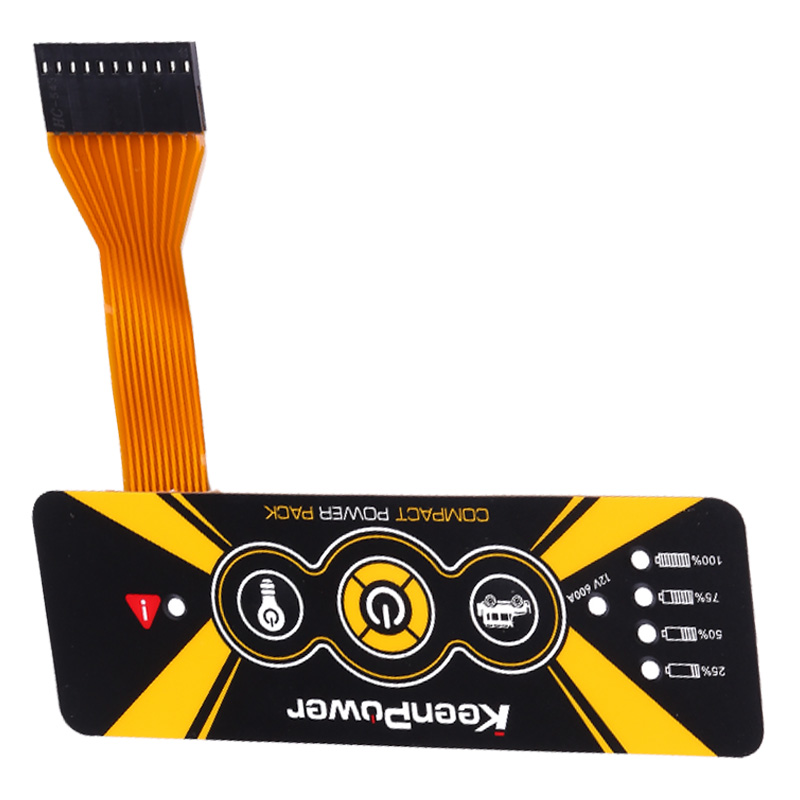
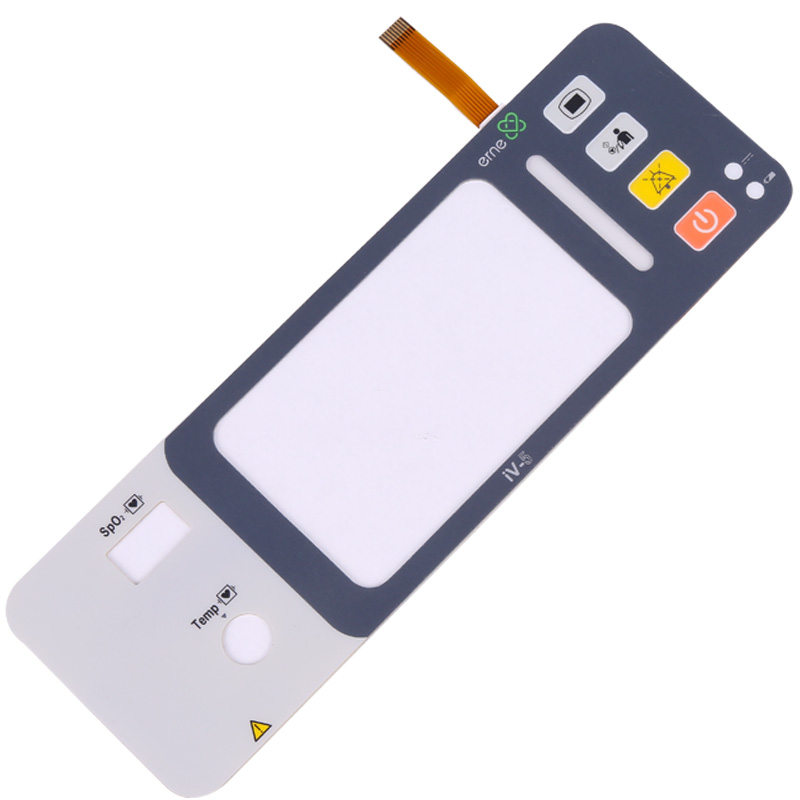
Custom membrane switch involves designing them to meet specific application needs, such as size, shape, functionality, and durability. Membrane switch are widely used in industries such as medical devices, industrial equipment, and consumer electronics due to their versatility, thin profile, and easy integration into complex systems.
Here’s a step-by-step guide to custom membrane panel switch :
1. Define Functional Requirements
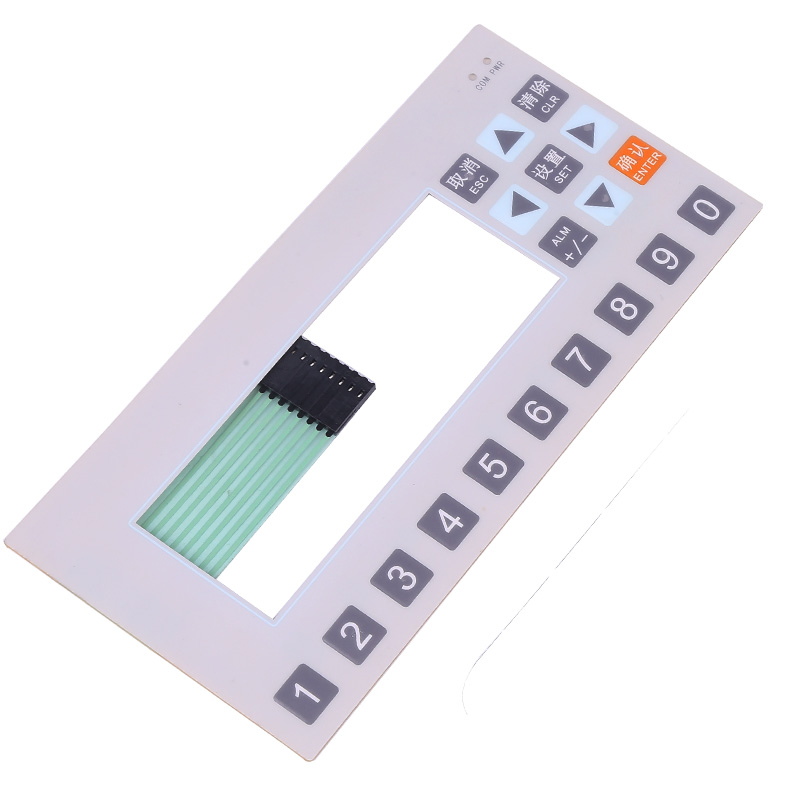
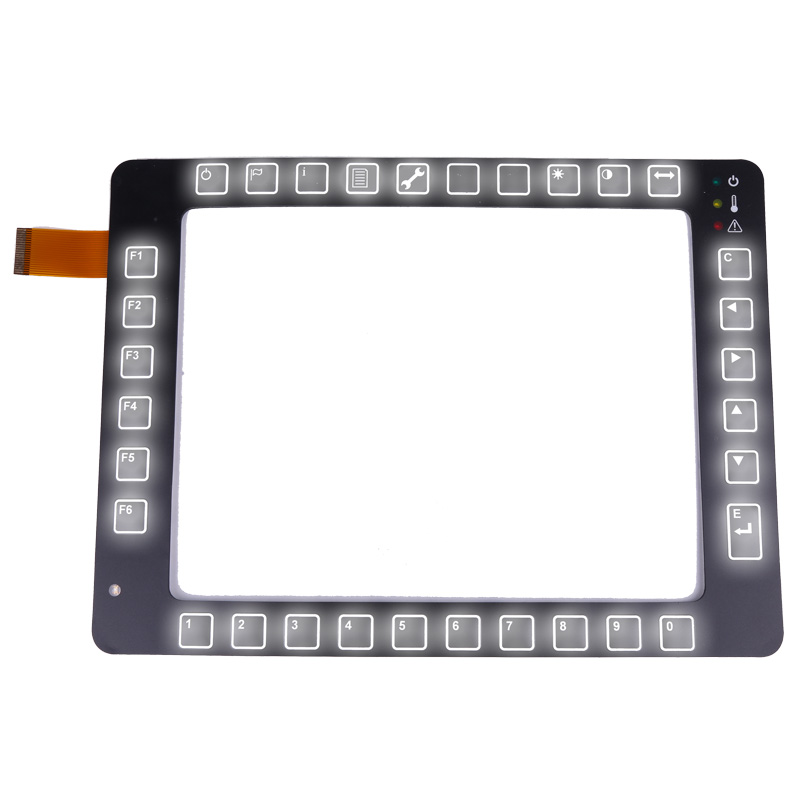
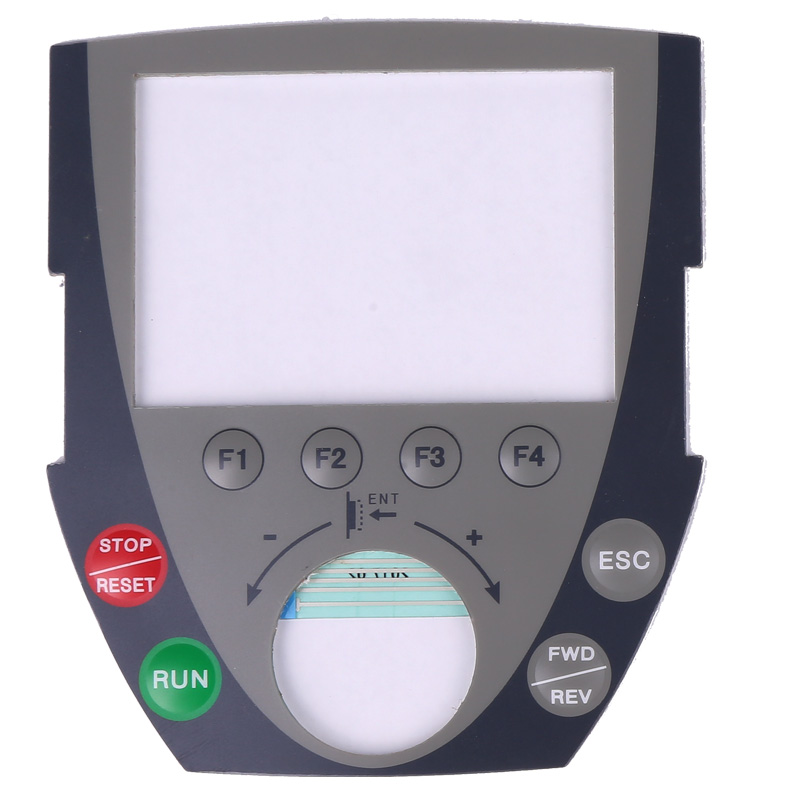
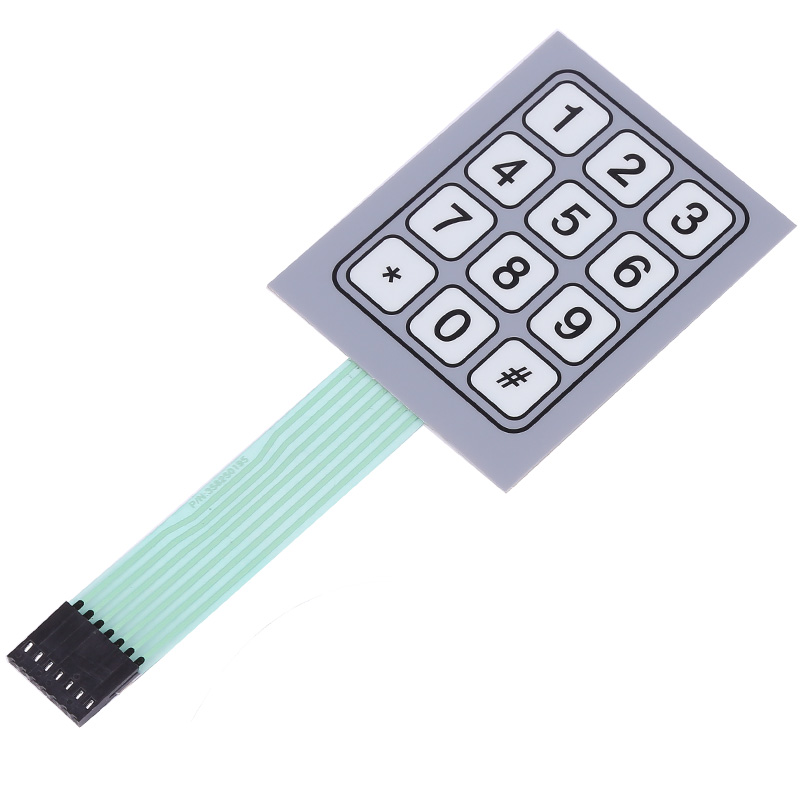
Keypad Layout & Design: Decide the number of buttons, their size, shape, and position on the interface. Depending on the application, buttons can be large or small, round or square, and placed ergonomically.
Tactile Feedback: Choose between tactile (where users feel a "click" when pressed) or non-tactile feedback. Tactile feedback usually involves metal domes or polyester domes under the surface.
Switch Mechanism: Determine whether the switch should be momentary (when pressed and released) or latching (stays on/off when pressed).
Environmental Requirements: Specify resistance to water, dust, UV, chemicals, or extreme temperatures depending on the application (e.g., IP-rated for waterproofing).
Life Expectancy: Define the expected number of actuations, which determines the durability of the membrane switch.
2. Choose Materials
Overlay Material: Select the top layer (graphic overlay) material, typically made from polyester (PET) or polycarbonate (PC). Polyester is more durable and resistant to chemicals, while polycarbonate is easier to print on but less durable.
Finishes: Choose between glossy, matte, or textured finishes depending on aesthetics and application needs.
Circuit Layers: Choose between printed conductive inks (such as silver or carbon) or etched copper circuits. For higher durability, copper flex circuits might be required.
Adhesives: Select adhesives that bond the switch layers to the device surface, depending on the materials being used and the environmental conditions.
3. Design the Graphic Overlay
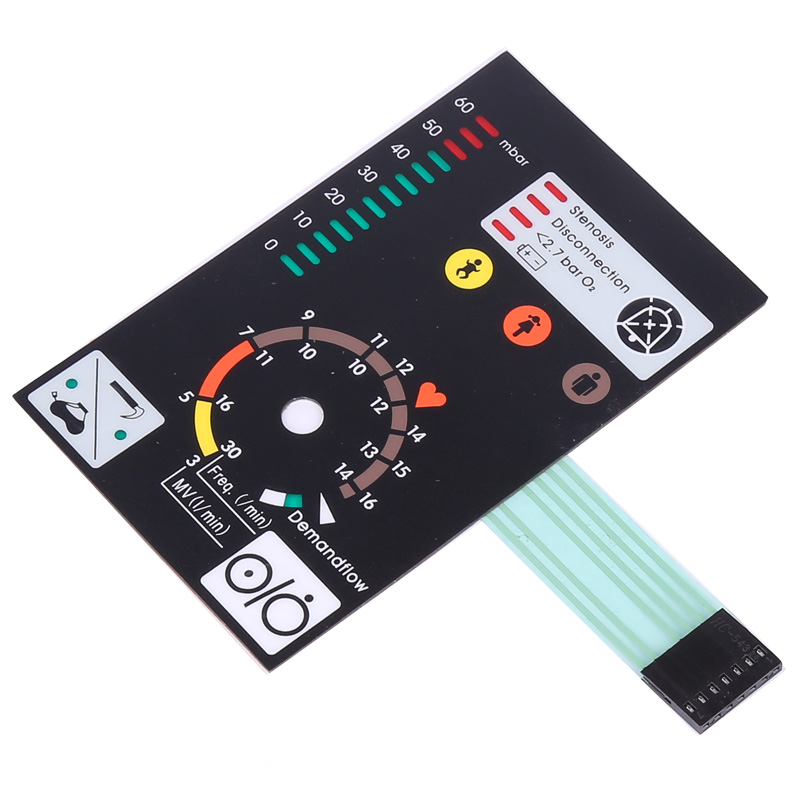
Visual Design: Custom the visual elements of the switch (colors, logos, symbols) by using digital printing methods, such as screen printing or digital inkjet printing. Design the interface layout based on your application’s branding and user experience needs.
Backlighting: Decide if backlighting is required. Options include LED backlighting, electroluminescent (EL) lighting, or fiber optics to illuminate keys and areas.
Embossing: Emboss buttons or graphics on the overlay for aesthetic appeal and better tactile feel. Common embossing types are rim, pillow, or dome embossing.
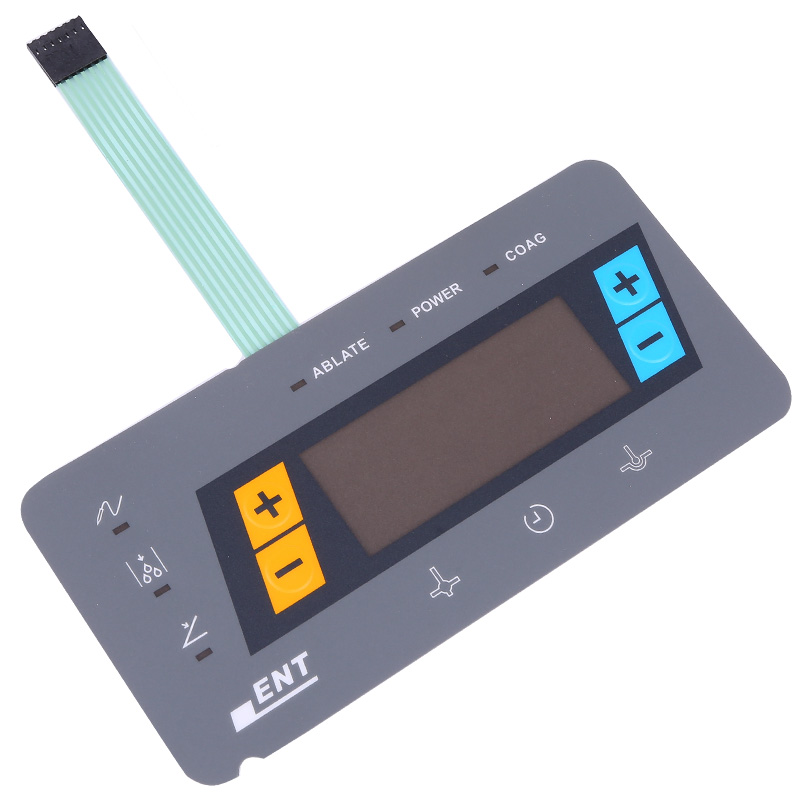
Windows and Icons: If the switch needs display windows (for LCDs or LEDs) or specific icon printing, define them in the design.
4. Electrical Design
Circuit Type: Choose between different circuit options:
Flexible Printed Circuit (FPC): Thin, flexible, and durable, suitable for compact designs.
Printed Circuit Board (PCB): Rigid, for more complex electronics.
Silver Printed Circuit: Less expensive but still offers excellent conductivity.
Connector Types: Choose connectors for integrating the membrane switch with the main device. Common connector options include tail connectors (ZIF, FFC, or pin connectors).
Layer Configuration: Determine the number of layers required for the design. A typical membrane switch has multiple layers, including the graphic overlay, spacer, circuit, and adhesive.
5. Consider Additional Features
Touchscreens: Integrate capacitive or resistive touchscreens if the application requires more advanced functionality.
Shielding: Add EMI/RFI (Electromagnetic Interference / Radio Frequency Interference) shielding to protect against electrical noise.
Antimicrobial Coating: For medical or food-related applications, consider adding an antimicrobial surface coating to ensure hygiene.
Haptic Feedback: Add vibration motors or other mechanisms to enhance feedback beyond tactile responses.
6. Prototyping and Testing
Prototype Development: Work with the manufacturer to create a prototype membrane switch to ensure all design aspects work as intended, including button feedback, durability, and functionality.
Testing: Conduct tests for environmental durability, lifecycle (button presses), electrical performance, and user experience to validate the switch design before mass production.
7. Work with a Manufacturer
Consult with a Specialist: Work with an experienced membrane switch manufacturer who can provide guidance on materials, design options, and technology. The manufacturer can help ensure that the switch meets both performance and cost goals.
Volume Production: Once the design is finalized and the prototype is approved, start the production process based on required volumes.
8. Final Assembly and Integration
Assembly: After manufacturing, the membrane keypad switch can be integrated into the final product. Ensure the adhesives bond well to the surface and that all electrical connections are secure.
Quality Control: Implement final tests to ensure functionality, longevity, and environmental resistance as required by your application.
Custom membrane button involves careful planning of functional requirements, material selection, electrical design, and graphic overlay design. Collaborating with experienced manufacturers and conducting thorough prototyping and testing ensures the final product meets the intended specifications. Whether the need is for tactile feedback, durability in harsh environments, or aesthetic customization, membrane switches offer a versatile solution.
More infor visit:www.jcftechnology.com