


 Email:

Installing a membrane keypad involves a few steps, and the process can vary depending on whether you’re installing it on a device or as part of a custom project. Here's a general guide:
Materials Needed:
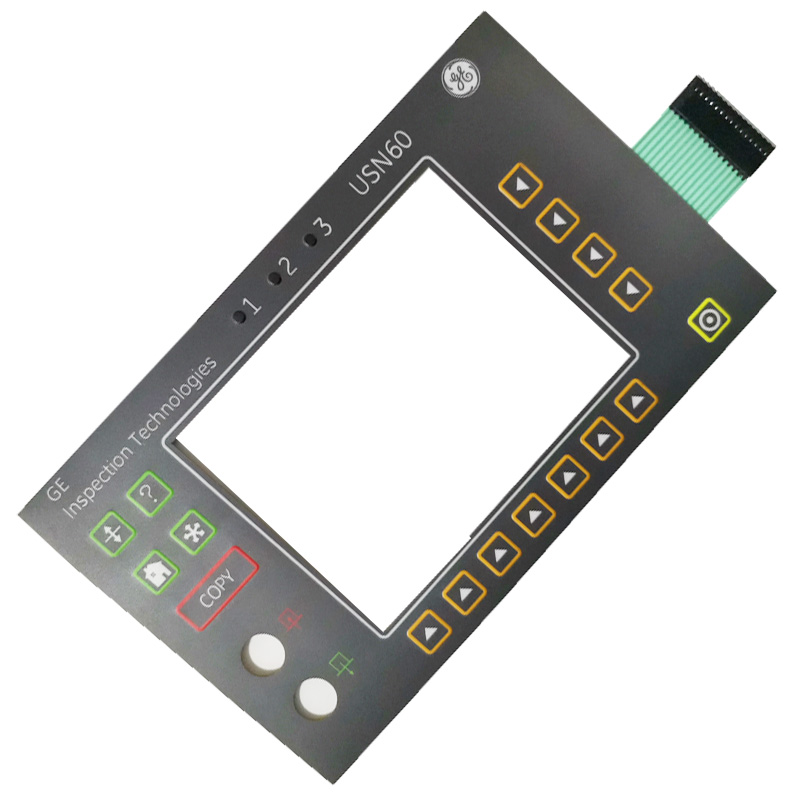
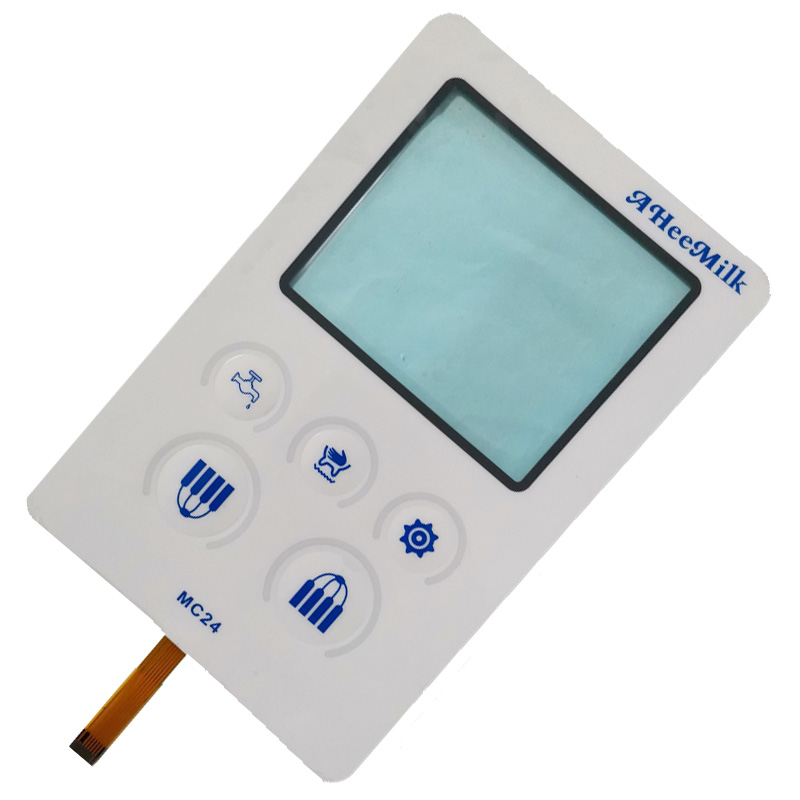
Membrane keypad switch
Surface for installation (e.g., membrane control panel, project box)
Double-sided tape or adhesive (if needed)
Soldering tools (if you're connecting the keypad to electronics)
Microcontroller or other control system (if applicable)
Steps to Install a Membrane Keypad panel:
1,Prepare the Surface:
Clean the surface where the membrane switch keypad will be installed to ensure a good bond if using adhesive or tape.
If it’s part of a larger assembly, make sure there is a space for the keyboard to fit.
2,Align the membrane Keypad:
Membrane keypads often come with a flexible film and adhesive backing. If there is no adhesive, you may need to apply double-sided tape.
Align the keypad carefully with the control surface or where you want it to be installed.
3,Adhere the membrane Keypad panel:
Stick the keypad in place, ensuring it’s level and aligned correctly.
Press down firmly to ensure the adhesive sticks, especially around the edges. If you're using double-sided tape, make sure it's secure on all sides.
4,Connect the membrane panel keypad (if using with electronics):
If you're integrating the membrane keypad with electronics (e.g., a microcontroller), connect the keypad's wiring to the
appropriate inputs on the control system. Most membrane keypads have a row of pins for each row and column of switches. You’ll
need to connect these to your microcontroller via GPIO pins or a dedicated keypad interface.
Common wiring methods:
Direct connection: Each key is part of a grid, and pressing a key completes a circuit between specific rows and columns. You’ll need to program your microcontroller to read the key press based on this grid.
Keypad libraries: For ease, many microcontroller platforms have libraries that handle the keypad scanning, making the process simpler.
5,Test the membrane keyboard:
Power up the system and test the membrane keypad by pressing different keys to ensure it’s functioning as expected.
If it’s connected to a microcontroller, upload any necessary code to map the key presses to specific actions.
6,Secure and Finish:
If needed, secure any loose wires or connections.
Ensure everything is well aligned and properly functioning.
That’s the general process! If you’re using the keypad for a specific project , there might be extra steps related to coding or wiring, if you'd like more details on that:www.jcftechnology.com