 Tel: +86755-27523807 +8613715205860(wechat/whatsapp)
 Email: jcf@jcftechnology.com

 Tel: +86755-27523807 +8613715205860(wechat/whatsapp)
 Email: jcf@jcftechnology.com
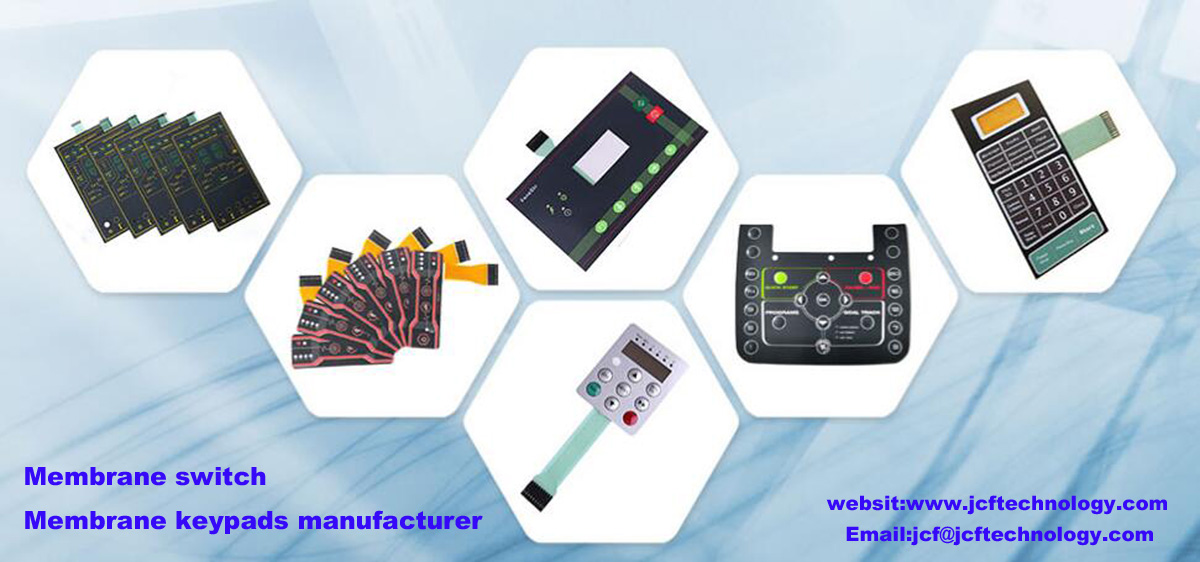
Membrane switch is a new high-tech switch, which has been widely used in various fields. The main components of the membrane switch are the membrane keypad panel and the flexible circuit. The production and installation process of the membrane switch includes the tail circuit, the die-cut tail circuit, the manufacture of spacers and the spacer glue for the panel. There are several steps:
1. Put the silk-screened circuit into the oven for 40 minutes, the temperature is 115 degrees Celsius. After the circuit is baked, check whether the circuit has short circuit, open circuit, or excessive resistance.
2. Paste the tail circuit: After checking the single-wire resistance of the baked circuit, a layer of insulating tape should be pasted on the tail circuit from the outlet to the place where the carbon paste overlaps 1 mm.
3. Punching the tail circuit: punch out the tail circuit with a die, and punch the tail circuit evenly on both sides.
4. Assemble the circuit: first paste the bottom circuit of the finished tail circuit on the spacer layer. When pasting, the silver paste point should be placed in the center of the spacer hole without air bubbles, and then paste the circuit, paying attention to the alignment of the upper and lower circuits, The contacts cannot be misaligned.
5.Back adhesive: Paste the already developed adhesive on the lower circuit. Pay attention to the tail circuit when pasting, and there should be no bubbles in the pasting process.
6. Panel adhesive: paste the punched panel glue on the upper circuit, and pay attention to the correct position when pasting.
7. Paste Graphic overlay: Paste the inspected panel on the upper circuit, pay attention to the four corner alignment lines when pasting, and paste it to the transparent window to see if the window is stuck. After pasting, pay attention to protect the transparent window.
8. Tail circuit treatment: lay the tail circuit flat, and paste a layer of 0.125 single-sided PET on the back of the carbon paste for reinforcement if the terminal is not used. If the terminal is required, turn the lead wire of the tail toward the terminal crimping needle .
9. Punching the spacer layer: Use a die to punch out the spacer layer and wait for standby.
10. Forming: Stamping is an important process for membrane switches. The dimensions are required to be accurate. The dimensions should be tested and processed according to the dimensions provided by the customer, the thickness and shape of the substrate, etc., and the exact dimensions are punched out and the quality of the mold is good or bad. It affects the forming quality of the membrane switch. The high-quality embossing should use a hot press mold. The advantage is that the pressed embossing is not deformed and has a layered and three-dimensional effect.
11. Inspection: First, check visually to see if the appearance is deviated or the silk screen is bad, and then check each button one by one with the checker according to the circuit principle to see if there are open circuit, short circuit, excessive resistance, etc., and pay attention to the button. Sensitivity, whether the inspection light with LED is bright or always on, and the brightness is not good, pay attention to check with the customer's drawings, and each product should be sampled discontinuously for life test (generally, the life span of 500,000 tests can be considered qualified).
12. Labeled and packaged for shipment. The package should be neat, beautiful, exquisite and generous.
