


 Email:

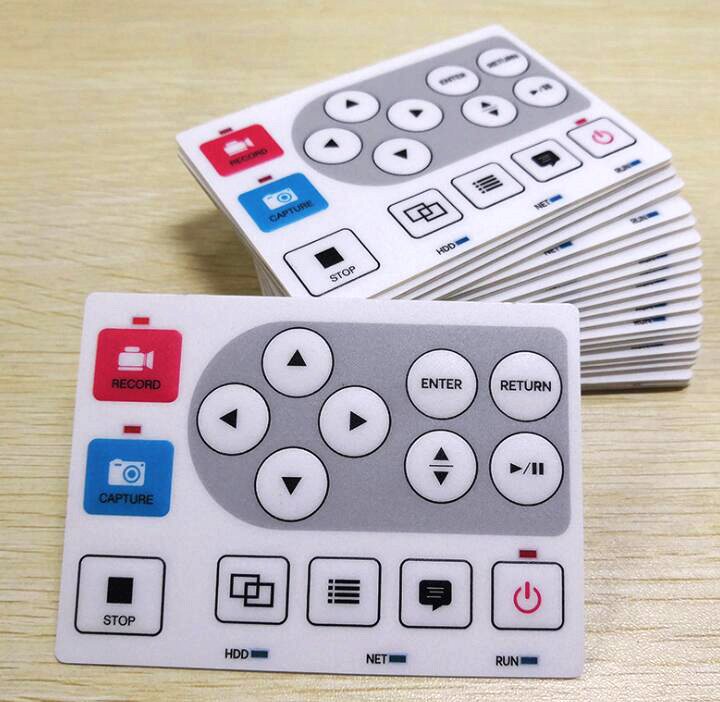
The assembly process for membrane keypads (also called membrane switches) involves layering thin, flexible films—typically polyester (PET) or polycarbonate—with printed conductive circuits, adhesives, spacers, and optional tactile elements like metal domes. The final product is a sealed, low-profile input interface that activates when pressure bridges the circuits.

Manufacturers membrane button follow a multi-step workflow that combines material preparation, printing, cutting, precise manual or semi-automated layering, and rigorous testing. but a membrane swithch typical process includes the following key stages:
1. Material Preparation and Printing Select and prepare base films (e.g., heat-shaping PET for overlays if needed).
Screen printing conductive silver (or carbon) ink onto circuit layers to create traces and contact points. Graphics (icons, labels) are often printed on the reverse of the top overlay for protection.
2. Die-Cutting and Component PreparationPunch or die-cut positioning holes, tails (flexible connectors), and individual layer shapes using steel rule dies, lasers, or CNC for precision.
3. Circuit Testing and InspectionPerform in-circuit testing (ICT) on printed circuits to verify conductivity and detect defects.

4. Layer Assembly (Lamination)This is the core assembly phase, often done in a clean, static-controlled environment (especially when using metal domes). It relies heavily on manual precision or semi-automated lamination, with alignment using positioning holes or fixtures:Start with the bottom circuit layer and attach it to a spacer or adhesive sheet using rollers or presses for an airtight bond.
For tactile feedback: Insert metal domes into the spacer cutouts and secure them with a dome retainer adhesive layer. Test domes for proper snap action.
5,Add the graphic overlay (top layer with printed legends) using graphic adhesive. This layer often includes embossing (e.g., pillow, rim, or hydroformed) for raised keys and better feel.

6. Quality Testing and InspectionFunctional testing (FT): Press each key to verify electrical continuity, actuation force, and response.
7. Packaging and StorageAttach any final labels or protective films.
Spot checks, packaging, and storage in controlled conditions.
The entire process can involve dozens of sub-steps due to the multilayer nature, with assembly being one of the most labor-intensive parts.
More info visit:www.jcftechnology.com